

This post may contain affiliate links. Please read my disclosure policy .
I am buzzing just thinking about these Screaming Skull Sugar Cookies.
They are such a Halloween favorite of mine because they turn a simple sugar cookie into these wide-mouthed, screaming little skulls that are equal parts creepy and cute.
The dough is soft but sturdy enough for all the decorating, and the royal icing makes it look like something straight out of a spooky bakery.
I love letting kids decorate them, or just doing it myself while blasting a scary movie in the background.
And honestly, the vanilla scent wafting from the kitchen makes me feel like I am walking through some haunted dessert shop.
Why I Love This Recipe
These cookies are just fun. The dough is soft and chewy, the royal icing gives a crisp contrast, and drawing on the screaming faces with edible pens is kind of like arts and crafts for grown ups.
I have to admit, I sometimes get carried away adding little red tongues or glowing green eyes.
They are not super sweet so I can snack on a couple without feeling guilty.
Every time I make them, someone always comments on the “screamiest” skull, and it totally keeps the Halloween vibe alive even after the last bite.
INGREDIENTS :
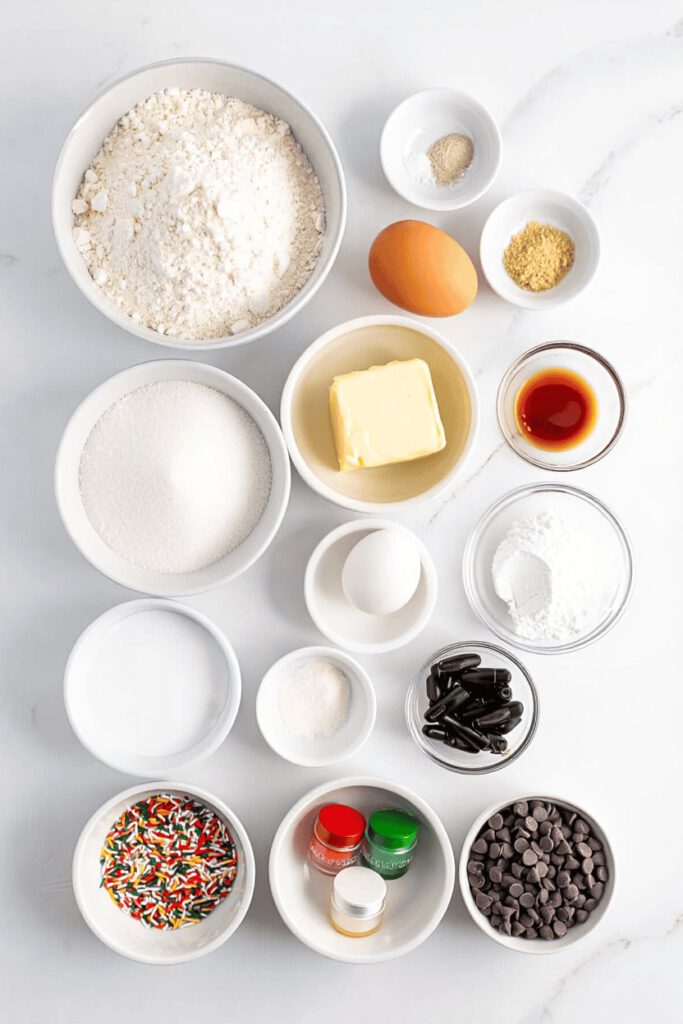
Ingredients for the Sugar Cookies
2 and a half cups all-purpose flour
1 teaspoon baking powder
half a teaspoon salt
1 cup unsalted butter, softened
1 cup granulated sugar
1 large egg
2 teaspoons vanilla extract
Ingredients for the Royal Icing
3 cups powdered sugar
2 large egg whites or 2 tablespoons meringue powder plus ¼ cup water
1 teaspoon vanilla extract
White food coloring optional for a brighter base
Ingredients for Decoration
Black edible ink pens or black royal icing in a piping bag
Red or green food coloring for accents like tongues or eyes
Optional sprinkles or mini chocolate chips for extra fun
Why These Ingredients Rock
Flour gives the cookie its structure and keeps it tender.
Butter makes it rich and melts in your mouth. Sugar sweetens but also helps edges crisp just a little.
Eggs make the dough chewy and hold everything together. Vanilla gives that classic warm flavor that screams Halloween baking.
The royal icing made from powdered sugar and egg whites sets firm so you can draw all the creepy faces you want.
Edible pens are a lifesaver because they make the scary details so much easier, and food coloring or sprinkles let you go full creative mode.
How I Make Them
I always start by chilling the dough because it makes rolling and cutting so much easier. Skulls hold their shape better if the dough is a little firm.
First I mix 2 and a half cups flour, baking powder, and salt in a medium bowl.
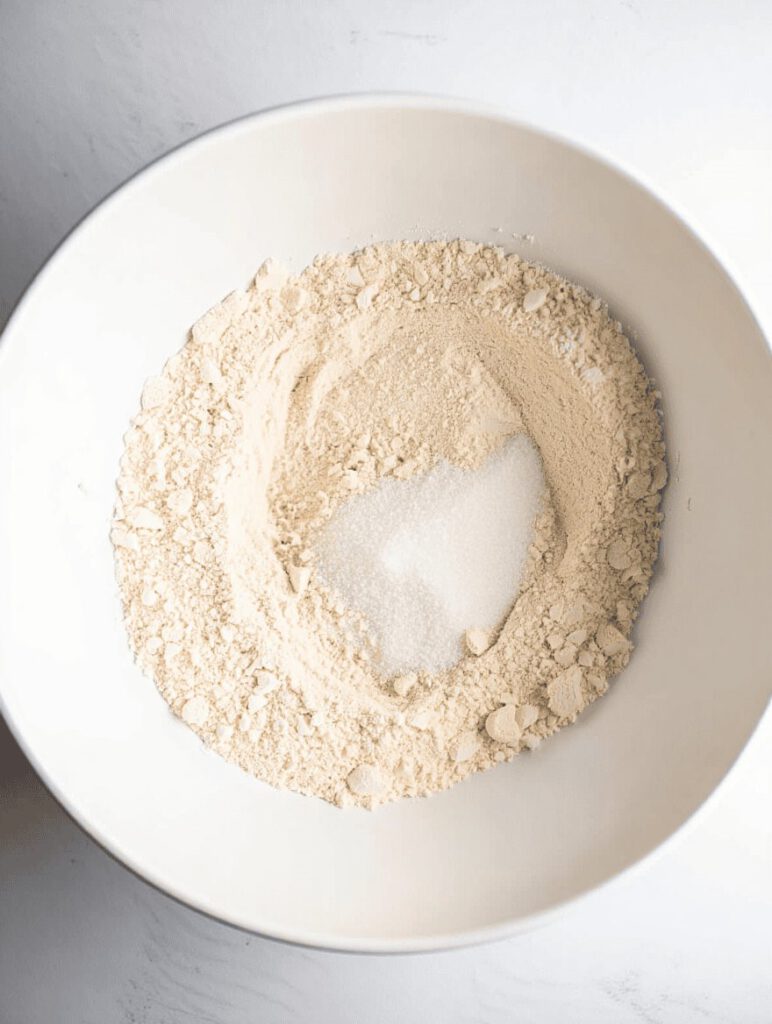
Then in a bigger bowl I cream the butter and sugar with a mixer until it is light and fluffy.
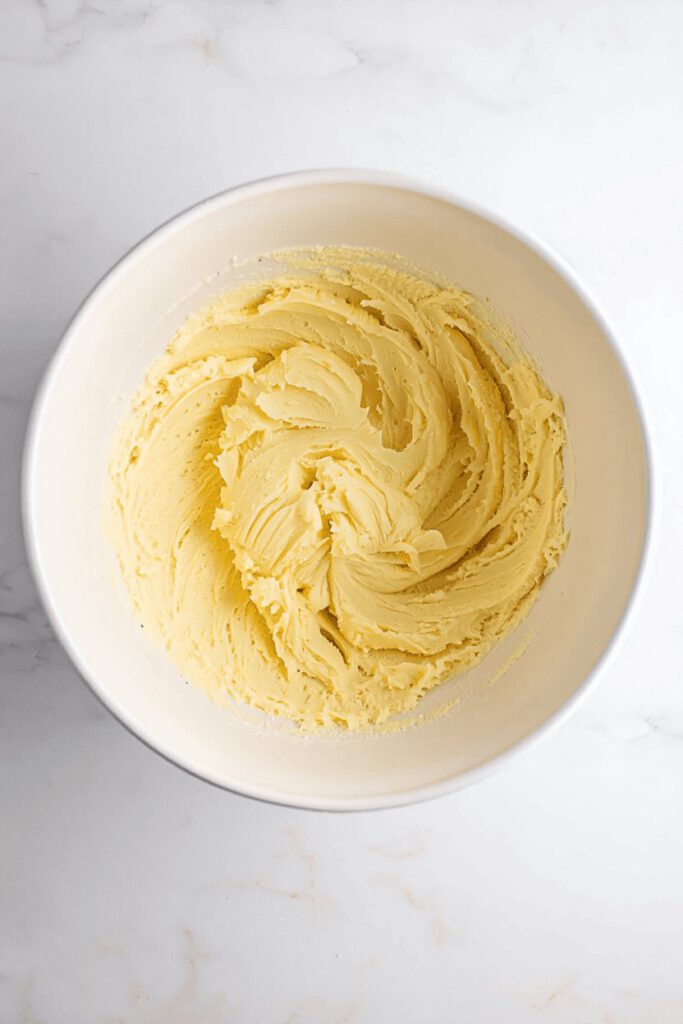
I beat in the egg and vanilla,
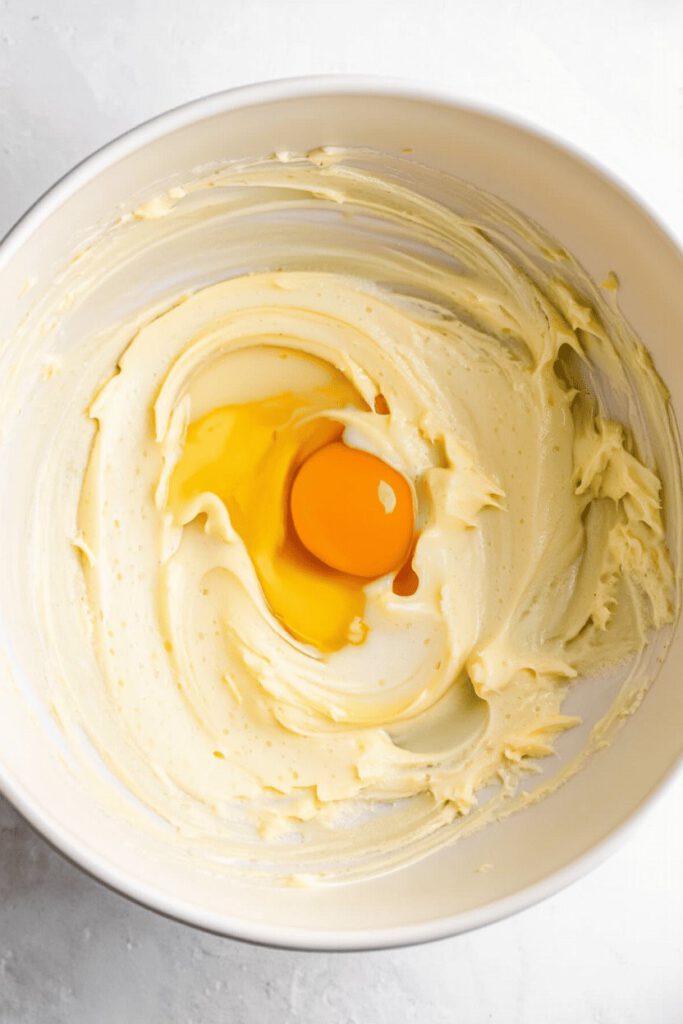
and then slowly mix in the dry ingredients until a soft dough forms.
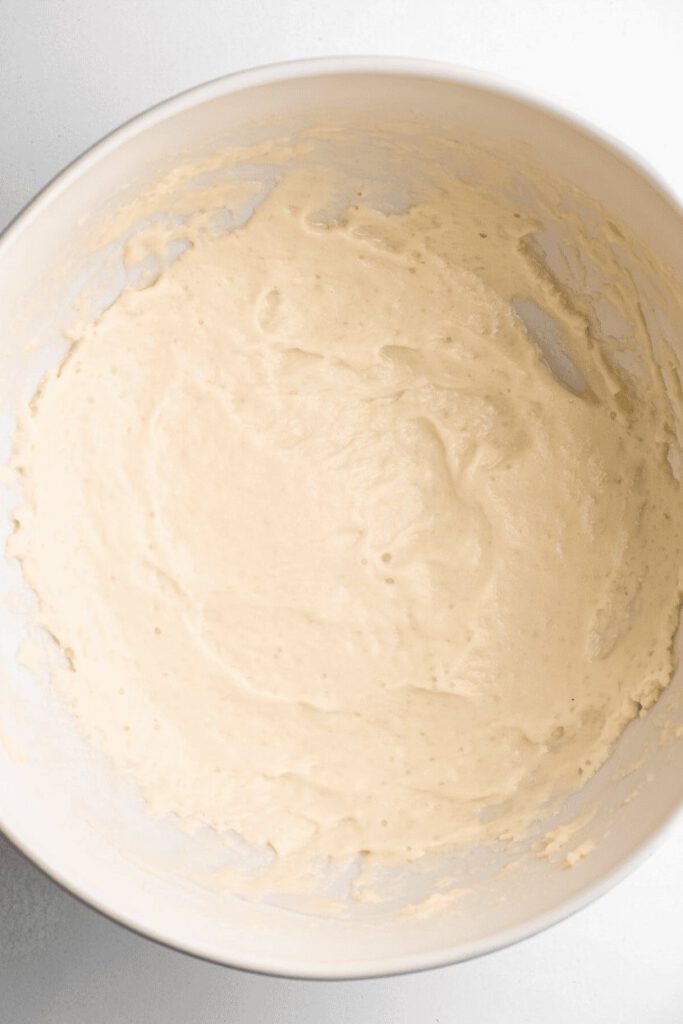
I divide it in half, flatten into disks, wrap in plastic, and pop them in the fridge for about 30 minutes.
Next I preheat the oven to 350 degrees and line my baking sheets with parchment.
I roll out one disk on a lightly floured surface to about a quarter inch thick. I cut out skull shapes with a cookie cutter or a paper template and knife if I do not have one handy.
I place them a couple inches apart on the sheets, gather scraps, re-roll, and cut more until I have around 24 to 30 cookies.
I chill the cut cookies on the sheets for 10 minutes to firm up before baking.
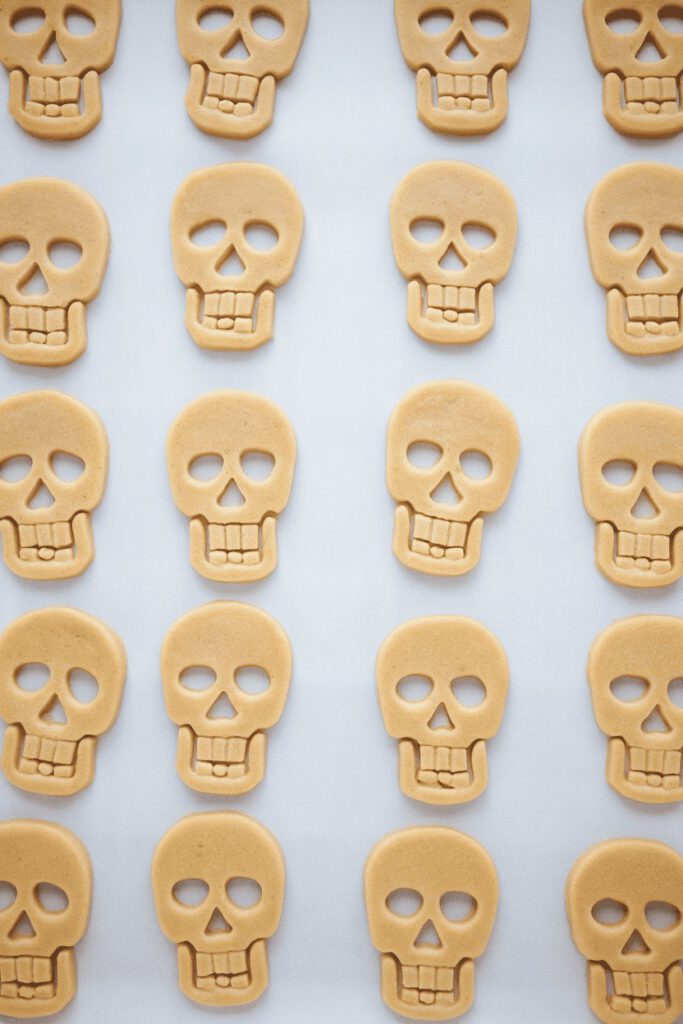
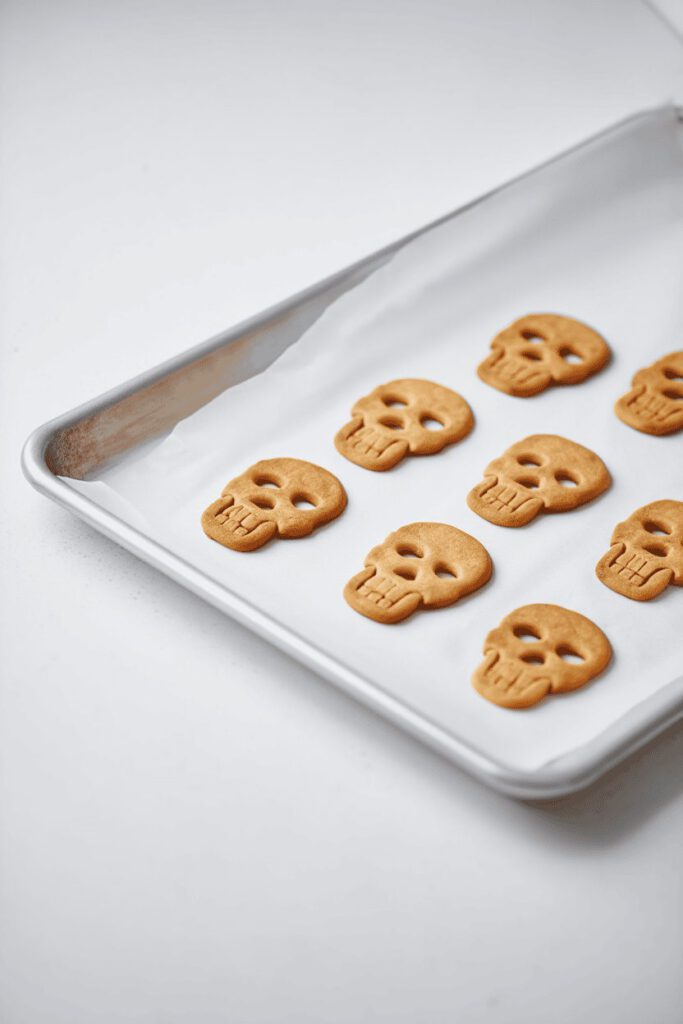
Baking is quick. I bake them for 8 to 10 minutes until the edges are just golden but the centers are still soft. I like to rotate the sheets halfway through just to be safe.
I let them cool on the sheets for a few minutes then move them to a rack to cool completely, about 20 minutes.
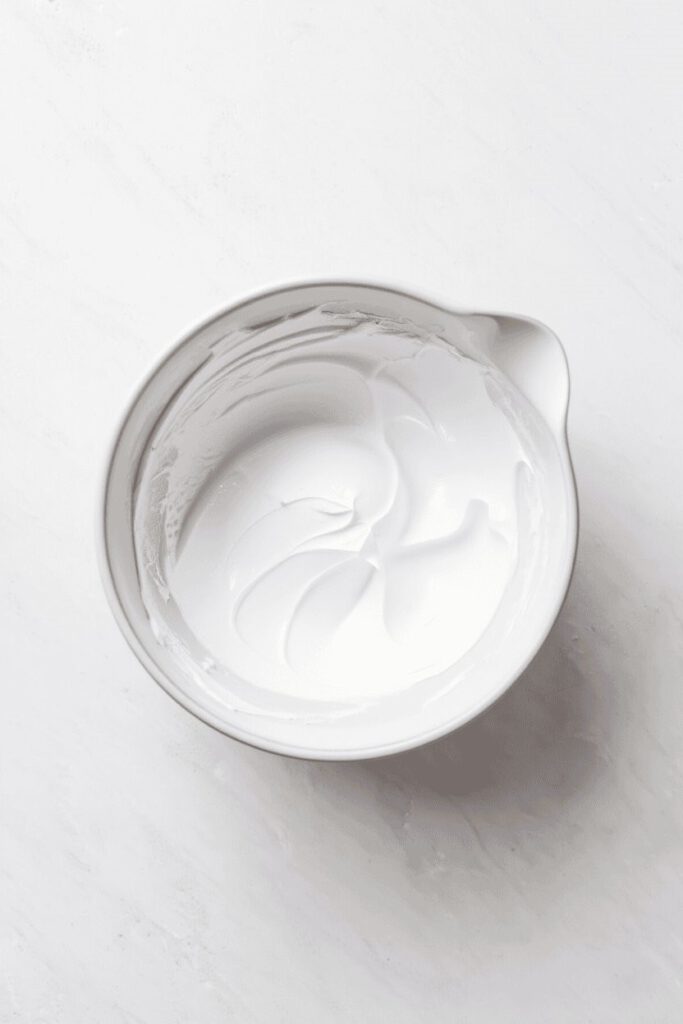
While they cool, I make the royal icing. I whisk the egg whites and vanilla until frothy, then gradually add the powdered sugar until it is thick and glossy.

If it is too thick, I add a tiny bit of water, if too thin I toss in more sugar.
I separate some plain white and tint small amounts red or green for accents. I cover them with damp towels so they do not dry out.
Once cookies are cool, I spread a thin layer of white icing over each one with a spoon or squeeze bottle. I let that set for an hour.
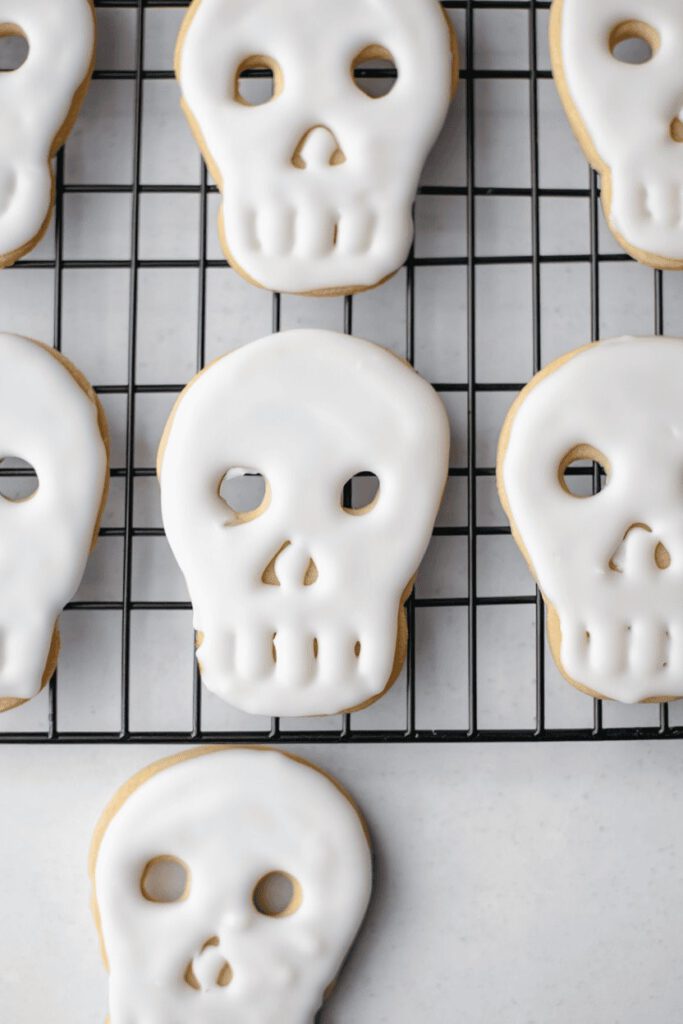
Then I go to town with the black edible pen, drawing wide open mouths, jagged teeth, hollow eyes, and maybe a little nose hole.

For extra spooky, I add red tongues or glowing green eyes with sprinkles. I let everything dry for 4 to 6 hours or overnight before stacking or serving.
How I Serve Them
I love putting these on a tiered stand with black lace or fake cobwebs. I toss candy bones around for a graveyard vibe.
They are perfect for cookie swaps, trick or treat tables, or spooky party favors. I usually serve them at room temperature so the icing stays crisp.
Pairing them with hot cocoa or a pumpkin spice latte is basically heaven. Kids go wild decorating their own and it turns serving time into a little party.
Leftovers
I keep any extras in an airtight container at room temp for up to a week. The royal icing keeps them from getting soggy.
In humid weather I sometimes use the fridge for 2 weeks but I let them warm up first so the icing does not sweat.
I do not freeze decorated ones but undecorated baked cookies freeze well for up to 3 months. Then you just thaw and decorate fresh.
My Little Tips
If you do not have a skull cutter, trace a template on parchment and cut with a paring knife.
Test the royal icing on a plate, if it holds a ribbon trail for 10 seconds it is perfect for flooding.
Shake edible pens before use and wipe the tip if ink blobs.
You can bake the cookies a day early and decorate the morning of for peak freshness. If kids are helping, use meringue powder instead of raw egg whites for safety.
Halloween Screaming Skull Sugar Cookies
Description
These Screaming Skull Sugar Cookies are the ultimate Halloween treat, turning classic buttery sugar cookies into adorable-yet-spooky skulls.
Instructions
-
Mix flour, baking powder, and salt. Cream butter and sugar, then add egg and vanilla. Combine with dry ingredients to form dough. Chill 30 minutes.
-
Roll dough ¼-inch thick; cut skull shapes; chill 10 minutes.
-
Bake 8–10 minutes; cool completely.
-
Prepare royal icing; divide and color.
-
Flood cookies with white icing; let dry 1 hour.
-
Decorate with black edible pens and colored accents; dry 4–6 hours.
-
Serve at room temperature; store in airtight container up to 1 week.
Note
Substitute meringue powder for raw egg whites for kid-safe icing.
Cookies can be frozen undecorated for up to 3 months.
Use a template if no skull cutter is available.
Frequently Asked Questions
Can I make these cookies gluten-free?
Yes, substitute all-purpose flour with a gluten-free flour blend and adjust liquid as needed.
How do I store decorated cookies?
Keep in an airtight container at room temperature for up to a week. Avoid the fridge unless humidity is high.
Can I make the royal icing ahead of time?
Yes, store in an airtight container for 1–2 days. Stir before using.
Can kids decorate the cookies themselves?
Absolutely! Use meringue powder instead of raw egg whites and let them have fun with edible pens and colored icing.