
This post may contain affiliate links. Please read my disclosure policy .
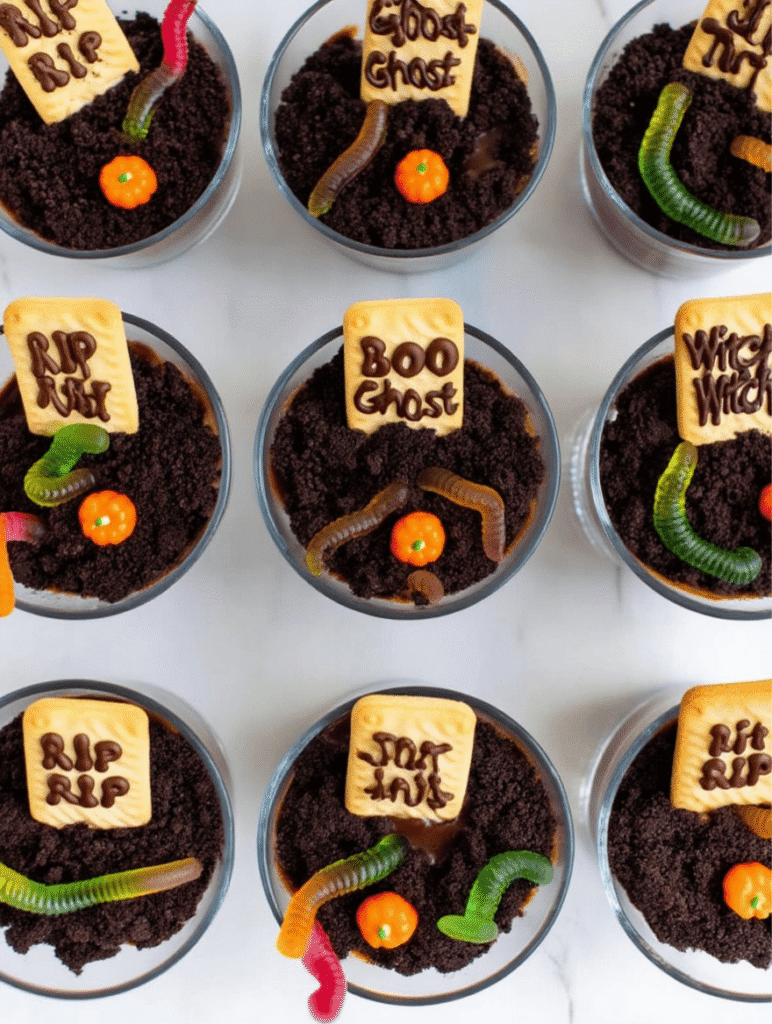
I have to say, these Graveyard Dirt Pudding Cups are one of my favorite last-minute Halloween desserts.
They are ridiculously easy, look amazing, and always make everyone smile.
The chocolate pudding is rich and creamy, the crushed Oreos give it that perfect crunchy dirt vibe, and the gummy worms peeking out are just too cute and creepy at the same time.
I love letting kids help assemble these, and honestly, adults sneak bites while no one is looking too.
The whole graveyard theme just hits for Halloween, and since there’s no baking involved, it’s basically stress-free perfection.
INGREDIENTS :
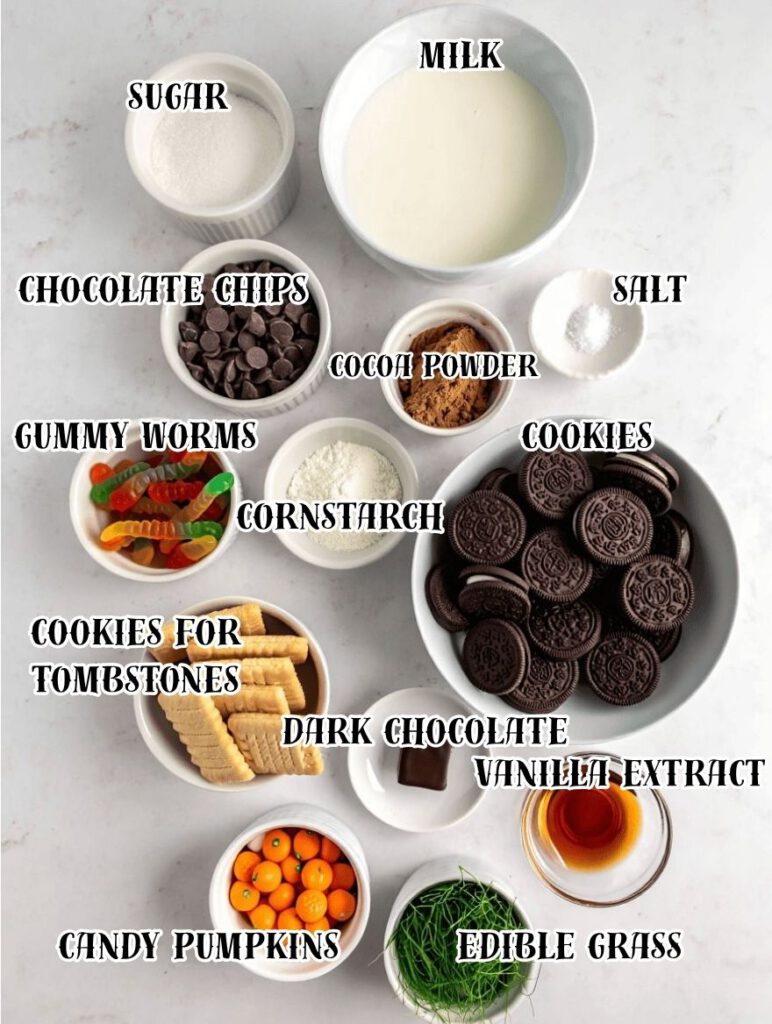
Ingredients for the Chocolate Pudding
2 cups whole milk
½ cup granulated sugar
¼ cup unsweetened cocoa powder
3 tablespoons cornstarch
⅛ teaspoon salt
1 cup semi-sweet chocolate chips
1 teaspoon vanilla extract
For the Dirt Layer
20 Oreo cookies, crushed (about 2 cups)
Decorations
12 gummy worms
6 rectangular shortbread or Milano cookies for tombstones
1 tablespoon melted dark chocolate for writing on tombstones
Optional: candy pumpkins or edible grass for extra spooky flair
Why I Love These Ingredients
Milk makes the pudding super creamy and smooth, sugar balances the chocolate, and cocoa powder gives that rich chocolate flavor that everyone loves.
Cornstarch thickens it perfectly, and a pinch of salt just makes the chocolate pop. Chocolate chips melt into the pudding and make it glossy and indulgent.
Oreos are literally the “dirt” and give a crunchy, chocolatey bite. Gummy worms are fun for the eyes and a little gross in the best Halloween way.
Tombstones add that cute spooky touch and make the cups feel extra special. I sometimes throw in candy pumpkins or edible grass for a little extra vibe if I’m feeling fancy.
Making the Chocolate Pudding
First thing, I get all my ingredients and cups ready because this comes together super fast.
I whisk together the milk, sugar, cocoa powder, cornstarch, and salt in a medium saucepan until it’s smooth.
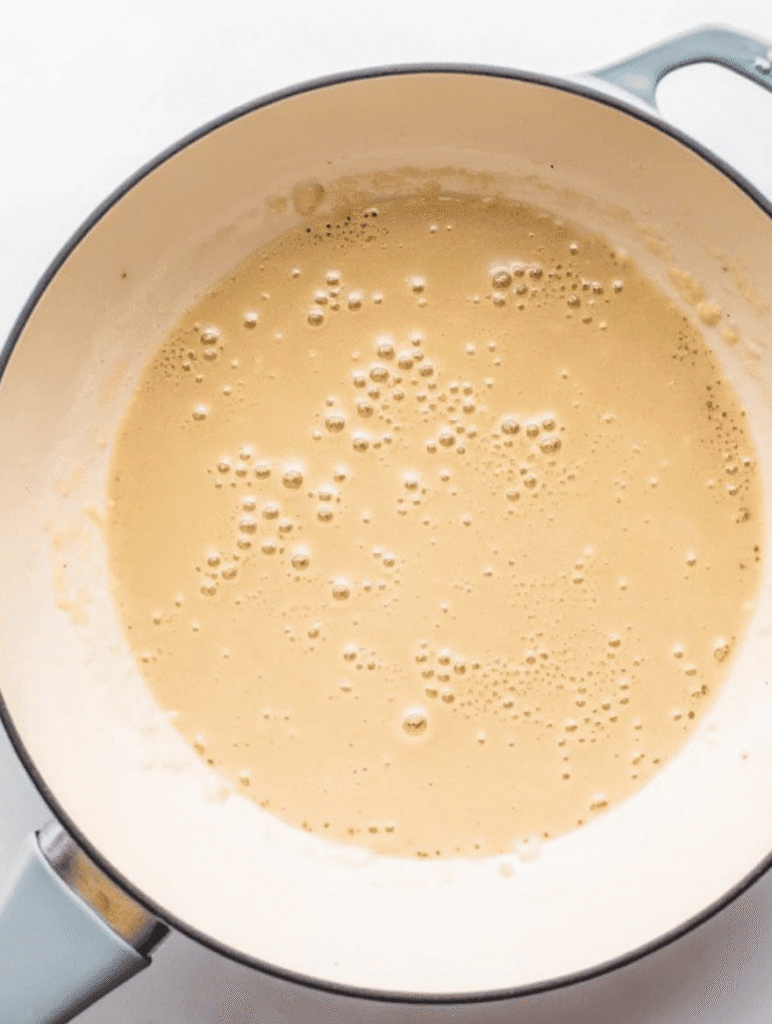
Then I heat it over medium, stirring constantly until it thickens and starts to bubble, usually like 5 to 7 minutes.
I take it off the heat and stir in the chocolate chips and vanilla until everything is melted and glossy. It smells like chocolate heaven at this point.
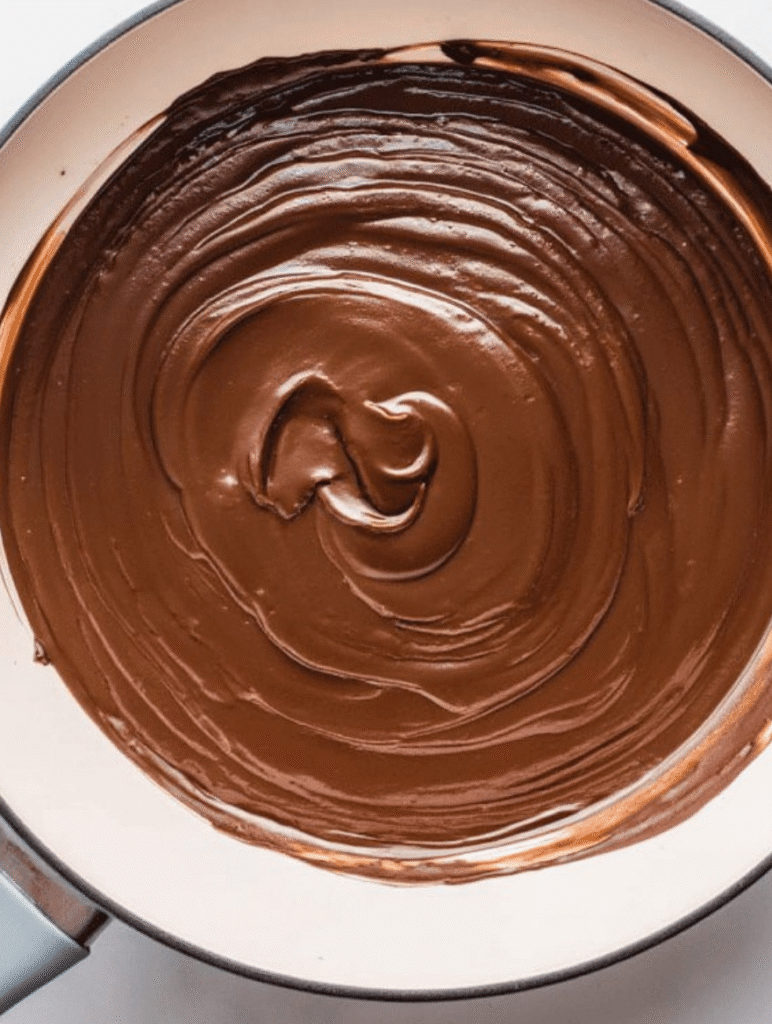
I let it cool a bit, then cover it and chill it in the fridge for about an hour.
Prepare the Oreo Dirt
While the pudding chills, I crush the Oreos. I usually use a food processor for speed but a zip-top bag and rolling pin totally works too.
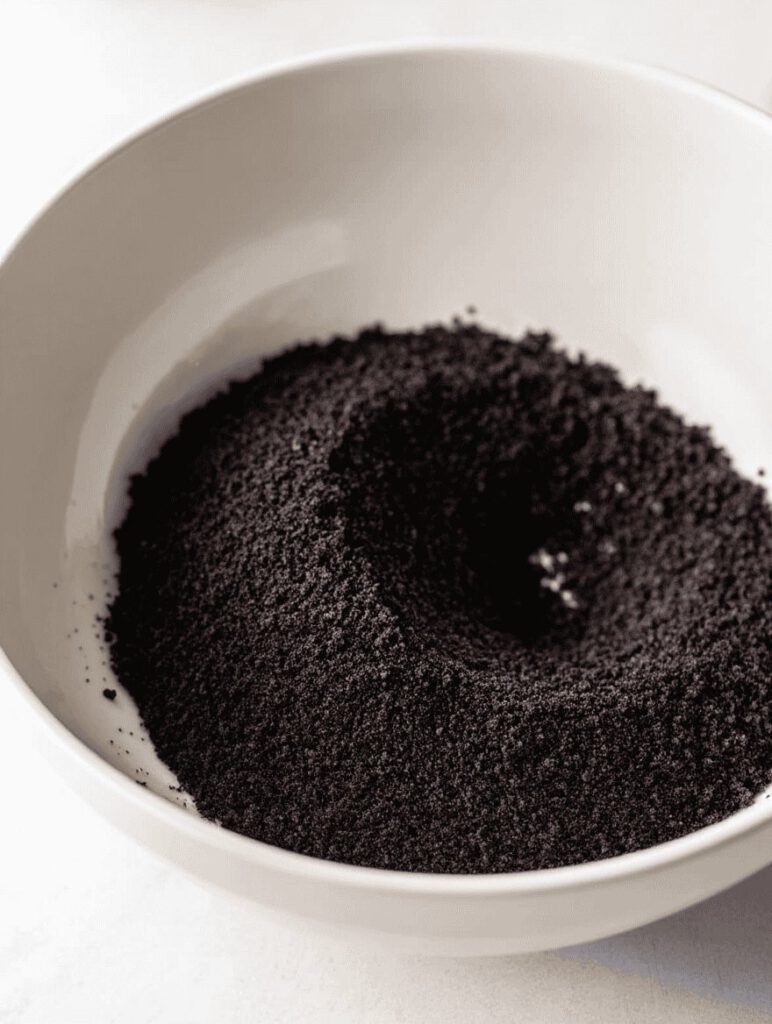
I set the crumbs aside, and yep, it already looks like graveyard dirt.
Make the Tombstones
I take the shortbread or Milano cookies and melt a tablespoon of dark chocolate in the microwave in 15 second bursts, stirring each time until smooth.
Then I put the melted chocolate in a little piping bag or a zip top bag with a tiny corner cut off and pipe “RIP” or funny spooky names like “Boo” or “Gloom” or anything scary on each cookie.
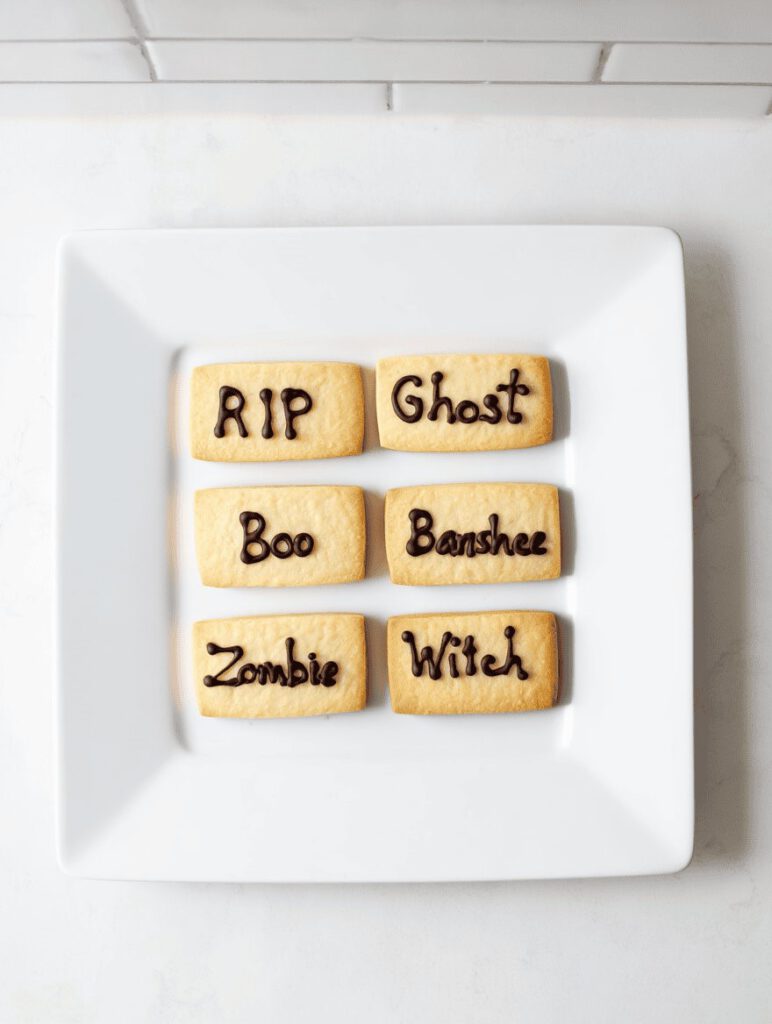
I let them set for about 10 minutes. Sometimes I get a little messy and it looks funny, but that’s part of the fun.
Assemble the Pudding Cups
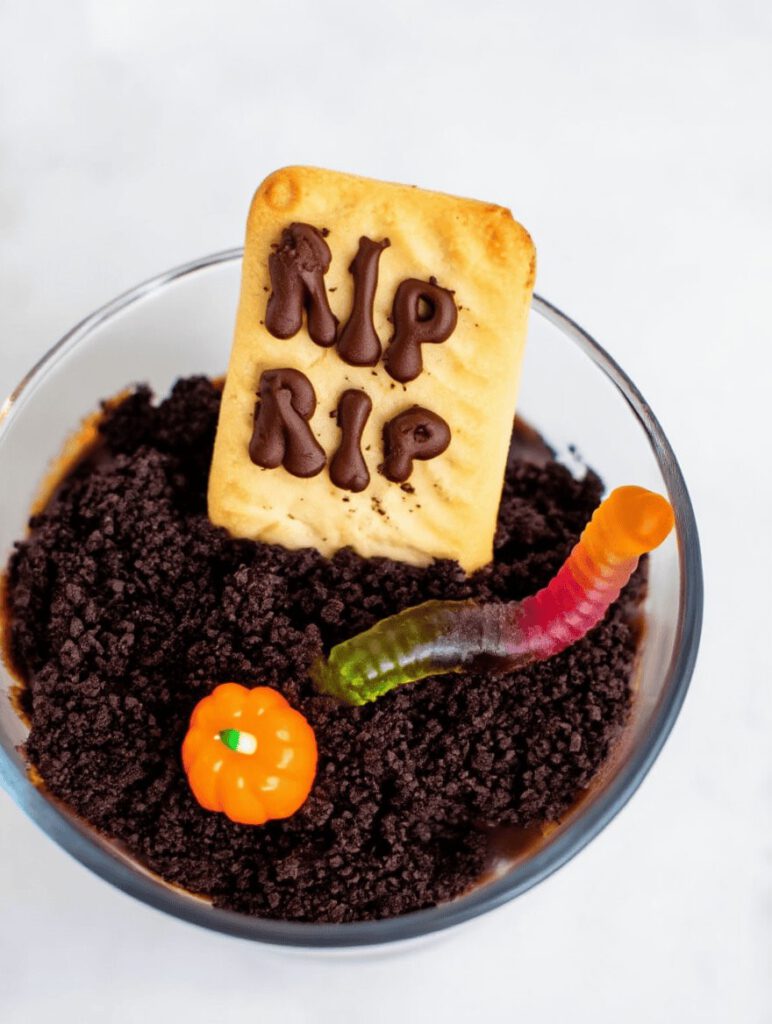
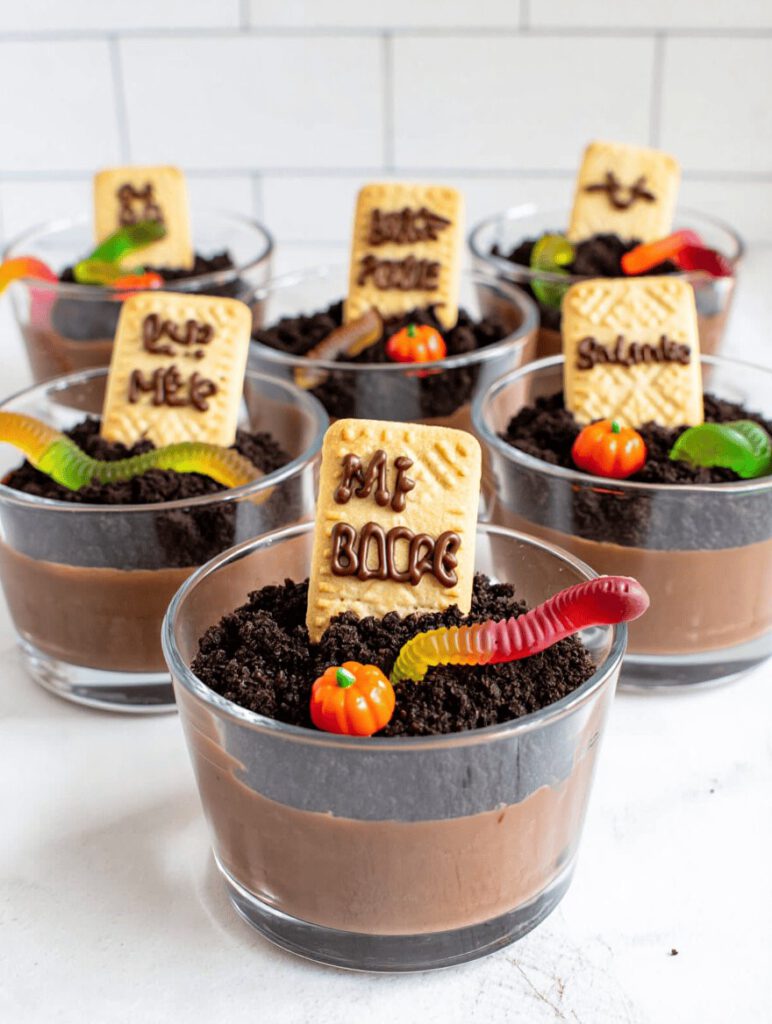
Once the pudding is chilled, I scoop it into clear cups, filling each about two-thirds full. Then I sprinkle a generous layer of Oreo crumbs on top.
I press 1 or 2 gummy worms in, letting them peek out just right.
I push a cookie tombstone into the back so it stands upright. If I’m feeling extra, I throw in a candy pumpkin or some edible grass.
Honestly, just making them is half the fun because they already look so cute and spooky.
Chill and Serve
I usually refrigerate them for 10 to 15 minutes to set, but if I need them immediately, they are still perfect.
I love serving them on a tray with a little Halloween setup like fake cobwebs or tiny skeletons.
The clear cups show off the layers, and everyone loves digging into the “dirt” with their spoons.
Leftovers
If there are any, I cover them and store them in the fridge for up to 3 days.
The Oreo crumbs might soften a bit but they still taste awesome. I don’t freeze them because the pudding can get watery.
If I have extra pudding, I just keep it in an airtight container for up to 5 days and assemble fresh cups later.
My Tips and Tricks
If I’m short on time, I totally use instant chocolate pudding it still works and tastes great.
I usually remove the cream from the Oreos for a finer dirt texture but keeping it is fine too.
Make sure your cookies for tombstones are sturdy enough to stand upright; Milano cookies are my favorite.
I love letting kids help crush the Oreos or place gummy worms, it’s such a fun little activity.
And if I want extra spookiness, I sprinkle edible green “grass” or add candy bones on top.
Halloween Graveyard Dirt Pudding Cups
Description
These Graveyard Dirt Pudding Cups are a fun, no-bake dessert that’s perfect for Halloween. Creamy chocolate pudding forms the base, topped with crushed Oreo cookies to resemble dirt.
Ingredients
For the Chocolate Pudding:
For Decorations:
Instructions
-
Whisk milk, sugar, cocoa, cornstarch, and salt; heat until thickened. Stir in chocolate chips and vanilla, chill 1 hour.
-
Crush Oreos to resemble dirt.
-
Melt dark chocolate; pipe “RIP” on cookies to make tombstones.
-
Layer pudding in cups, sprinkle Oreo crumbs, add gummy worms, and insert tombstones. Add optional decorations.
-
Chill 10–15 minutes and serve.
Note
Instant pudding can be used for a quicker version.
Remove Oreo cream for finer dirt texture or keep for extra sweetness.
Use sturdy cookies for tombstones.
Perfect for kid-friendly Halloween activities.
Frequently Asked Questions
Can I make this ahead of time?
Yes, pudding can be prepared and chilled up to 1 day before assembling.
Can I freeze these cups?
Freezing is not recommended; pudding may become watery.
Can I use other cookies instead of Oreos?
Yes, chocolate sandwich cookies or graham crackers work too.
Can this be made vegan?
Substitute plant-based milk and vegan chocolate chips.