
This post may contain affiliate links. Please read my disclosure policy .
Did you ever find a sweet treat that’s so easy to make, yet tastes like it came from a top notch bake shop?
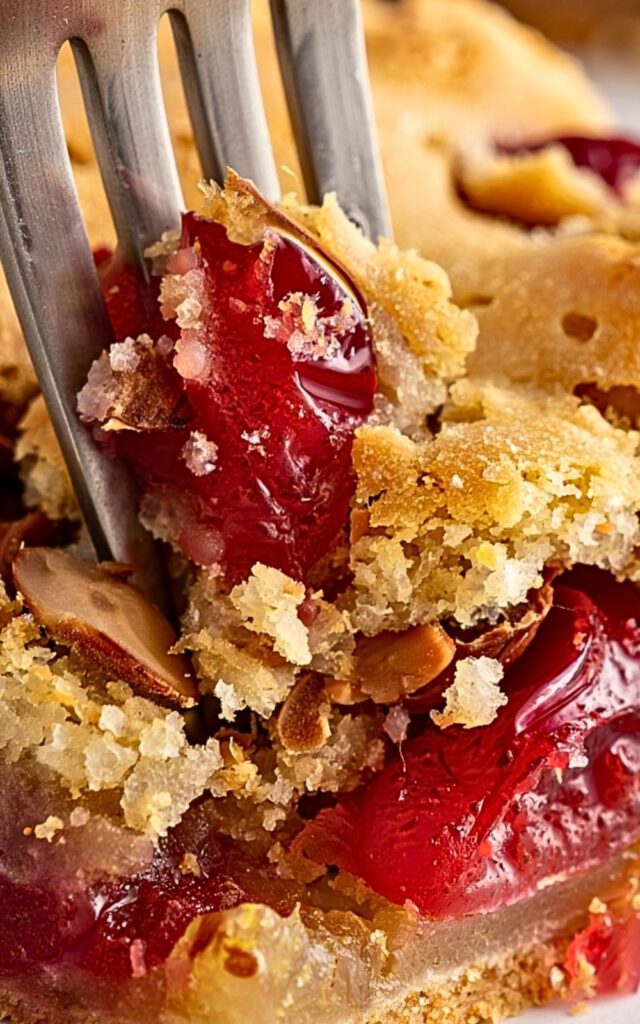
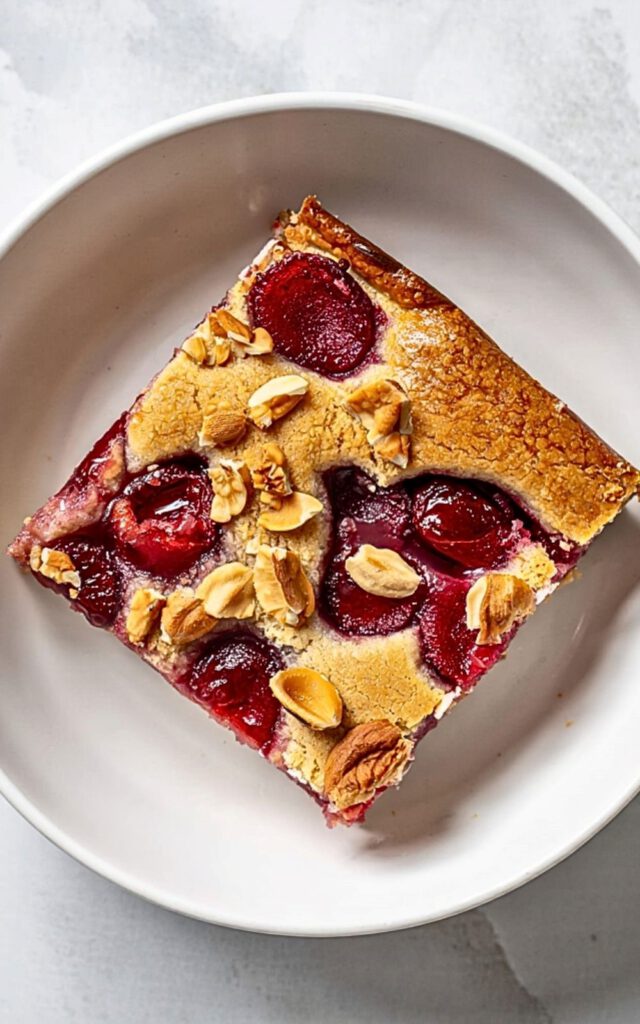
That’s these Cherry Bars. Soft, rich bars, ripe cherries full of taste, and a bit of crisp on top? They are a dream mix of yum.
I first made these on a lazy Sunday when I had no will to bake a tough dish but wanted something sweet.
The kind of snack great for late TV shows or to share with pals over coffee (or wine no hard feels). And, they’re now a must in my café.
My guests? They love these bars each time. For real.
So, if you want something simple, fast, and oh so good, keep on reading. I’m about to lay it all out step by step, with the story too.
Here’s why I love these Cherry Bars (and you will too):
These bars hit the right mix of sweet but not too much. The base is soft and rich but still light. The cherries? They give a juicy, tart burst that’s just superb.
I love how you can change up the recipe. Want to add walnuts for crunch? Go for it. Love pecans? Add them.
No nuts? No prob, just skip them. The cherry mix is thick and sticky but neat, thanks to some cornstarch. And the top with brown sugar?
It adds a caramel touch that lifts up these bars.
This recipe takes me back to chill summer days at my grandma’s. She’d have a sweet treat, simple but so good. That’s the feel these bars bring.
What you’ll need: The Cherry Bar must haves: Here’s what you’ll want to grab. Don’t stress if you miss a thing this recipe is cool like that.
Ingredients
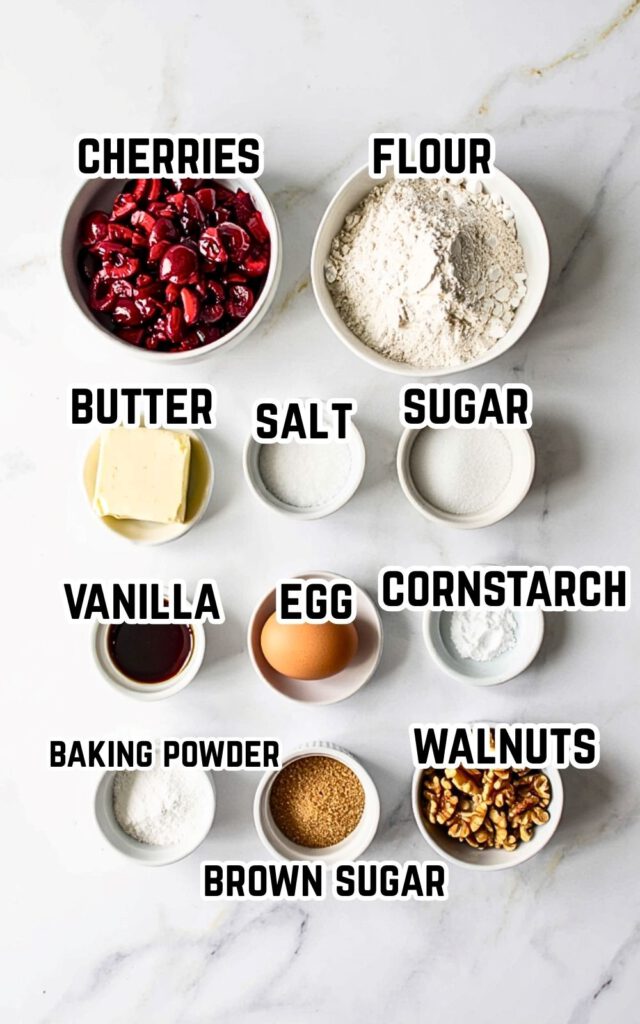
1 1/2 cups flour
1 cup sugar
1/2 cup soft butter
1 big egg
1 tsp vanilla extract
1/2 tsp baking powder
1/4 tsp salt
2 cups fresh or frozen cherries, cut (fresh is best, but frozen is fine too)
1 tbsp cornstarch (it thickens the cherry mix don’t skip!)
1/4 cup pack brown sugar
1/4 cup chop walnuts or pecans (up to you, but I adore the crunch)
Quick note on things:
Flour is the key it gives structure and a nice crumb.
Sugar cuts the tart cherries and sweetens all.
Butter makes it all rich, moist, and just right. Egg keeps all in place so your bars hold up.
Cherries bring antioxidants and that fresh fruity kick we love.
Cornstarch keeps the cherry mix thick and neat.
Brown sugar in the top adds a warm, caramel feel that’s just top notch.
Nuts? Up to you, but they give a nice contrast.
Step by step guide (I’ll walk you through): Alright, let’s dive in!
Instructions
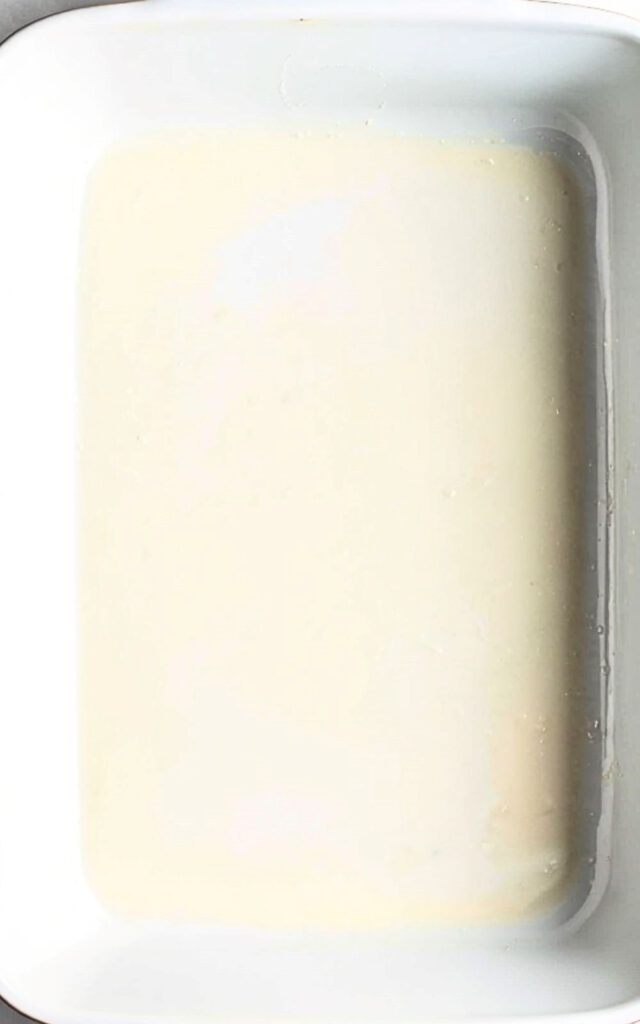
Heat & Prep Your Pan Hit your oven to 350°F. Oil an 8×8 inch bake pan don’t skip or your bars will stick. Use butter or a spray.
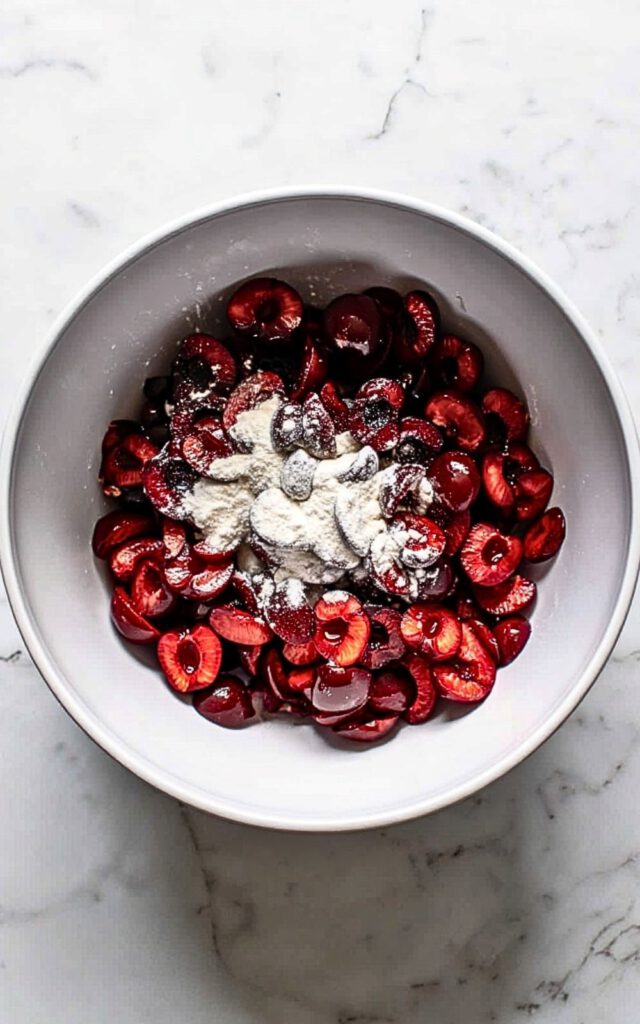
Get Cherries Set If using fresh cherries, pit and chop them. Thaw frozen ones, no rush (no microwave, just out for a bit). Mix your cherries with cornstarch in a bowl. Stir well.
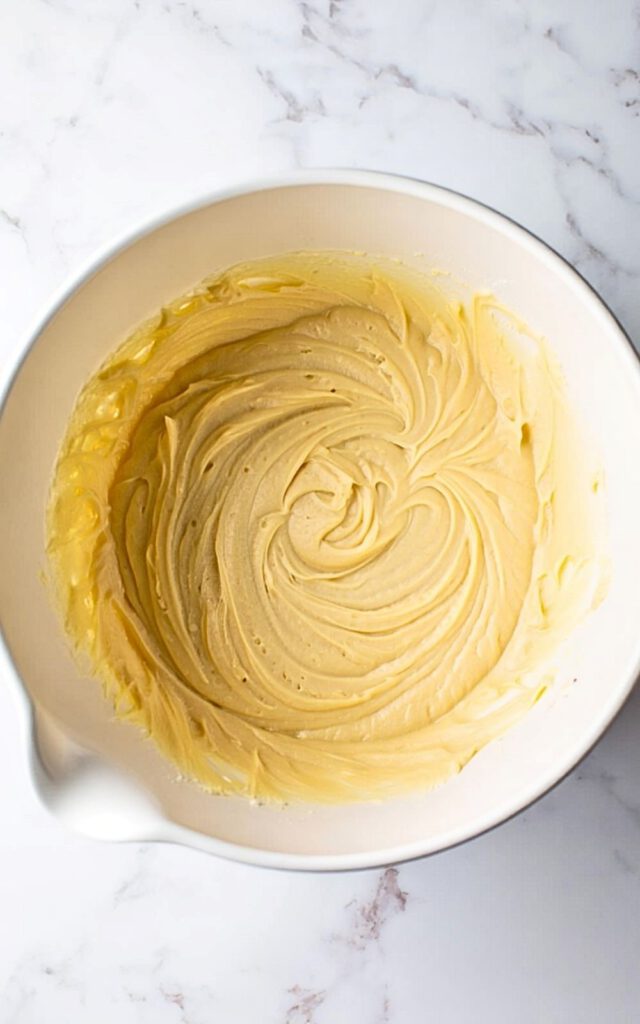
Make the Batter In a bowl, mix your soft butter and sugar ’til smooth. Use a mixer or your arms. Add your egg and vanilla and mix.
In another bowl, mix your flour, baking powder, and salt. Slowly mix dry stuff into the butter mix. Combine but don’t overdo it.
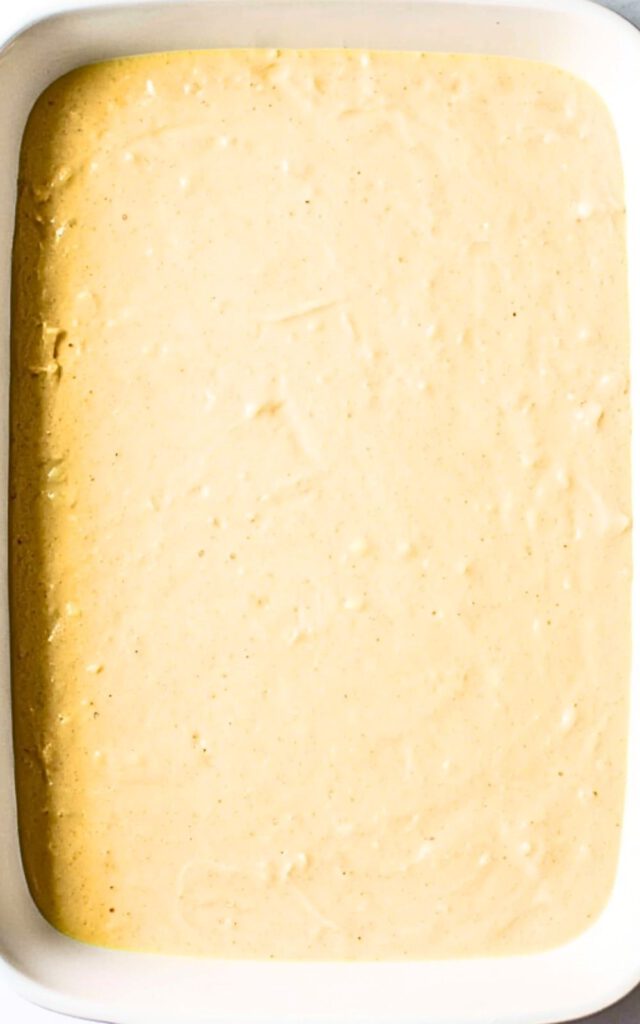
Build Your Bars Put half your batter in your pan. It might be sticky pat it down gentle. Pour cherry mix over it. Drop spoonfuls of batter on top. A patchy look is fine! Sprinkle brown sugar and nuts for that crunch and caramel kick.
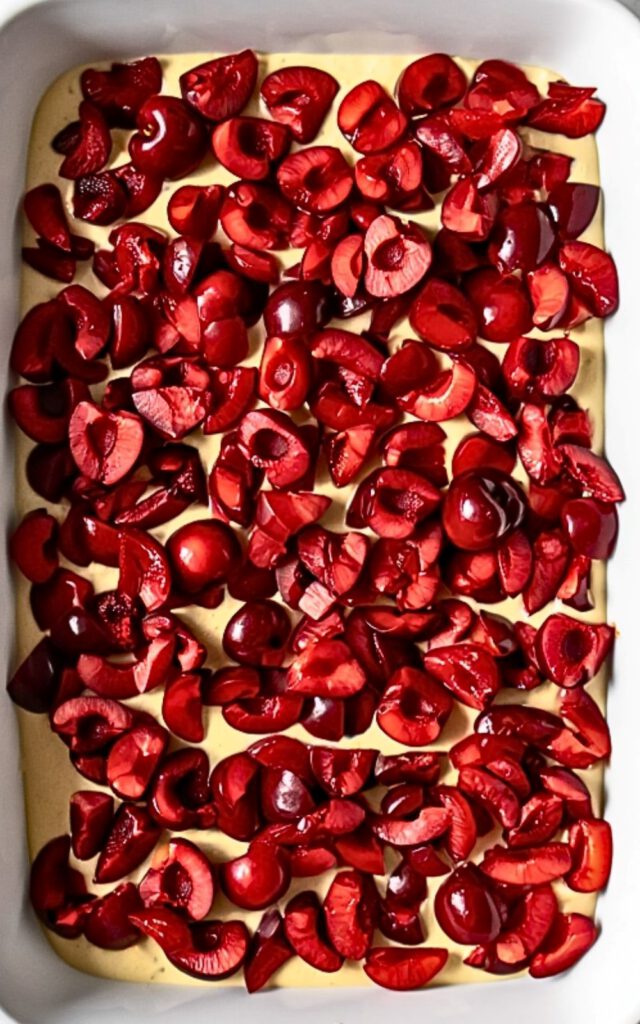
Bake Time Bake for about 35 40 mins. Watch near the end done when top is golden and a toothpick comes out clean or just moist. Don’t overbake.
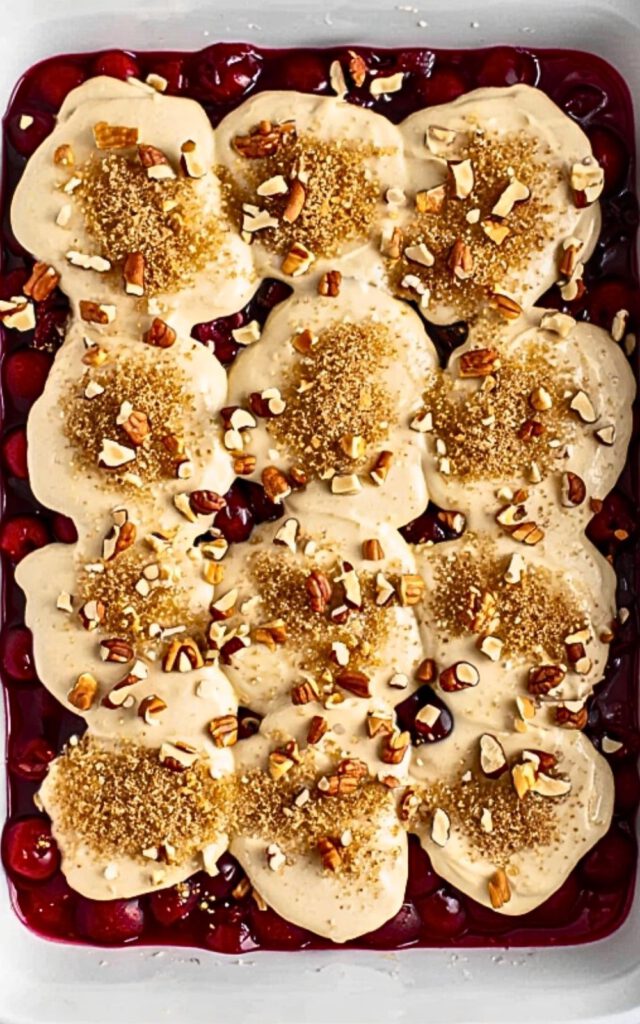
Cool & Cut Wait for it! Let bars cool all the way in the pan on a wire rack before you cut. If you dig in too soon, the filling will ooze out. But once cool? Well worth it.
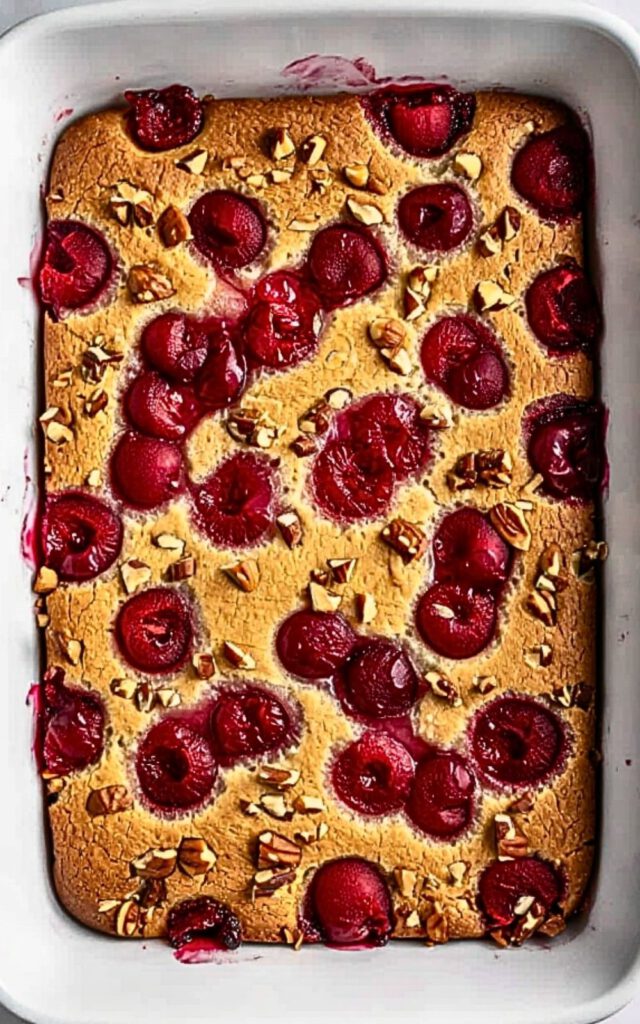
How to Eat These Cherry Bars (Clue: They Fit With All) After food sweet:
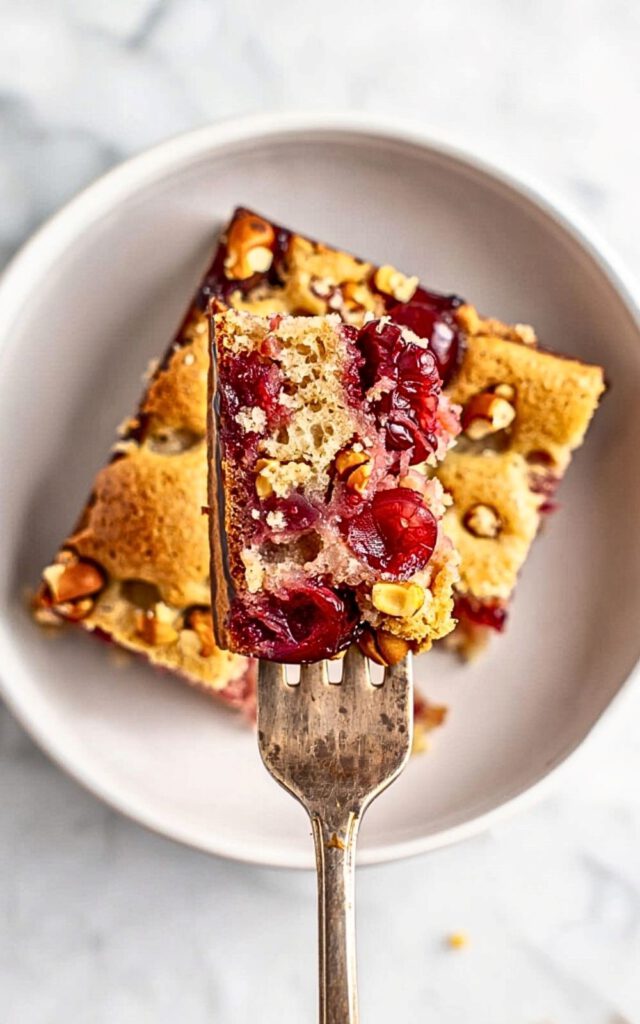
Heat them a bit and eat with ice cream or a touch of cream. Yum!
With your cup of tea or joe: These bars are top with your morn sip or a noon bump.
At a bash: Easy to make into smalls, so great for shared meals, park days, or chill meets. No spoons, just grab & munch!
Jazz it up: Sprinkle with sugar dust or pour some warm choc on top if you feel fancy, easy!
Tips on Store & What’s Left (Since There Will Be Extras)
Keep what’s left in a tight box at room warmth for up to 3 days. They taste top after a day, when tastes mix.
For more days, put them cold for up to 5 days. Let them get warm before you eat.
To freeze?
Yes, you can. Pack bars well with wrap or foil, put in freeze bags, & freeze for 3 months. To eat, thaw at room temp or warm in a 300°F heat for 10 15 mins. Top for plan ahead snacks!
My Best Hints & Cheats for Cherry Bars That Pop Use fresh cherries if you can, yet frozen are a save when out of date. Just thaw them right!
Don’t miss the cornstarch! It’s top for keeping fill thick & neat.
Nuts give a great bite, yet skip if you or pals can’t or don’t want to eat them.
Try a teaspoon of lemon peel in the mix or fill it lifts the taste so well.
Watch your heat. I’ve burned a set or two when I lost track (don’t be like me!).
If you want it sweeter, feel free to add more sugar on top before cook.
End Words You Can Do It!
Truly, these cherry bars are one “simple to make, hard to not love” treats. They’re great for new bakers & skilled ones too, & they taste like you took ages to make them (but you didn’t).
Next time you want quick & yum, try these. Make them for your folks, your pals, or just ’cause you need a nice bite. & hey, don’t skip to share good eats are better when shared, right?
Okay, I’m off to grab another piece… maybe two. Yum!
Cherry Bar Recipe
Description
These Cherry Bars are soft, rich, and bursting with juicy cherries. The lightly crisp top with a caramel touch makes them feel gourmet while being incredibly simple to make. Perfect for snacks, dessert, or sharing with friends.
Ingredients
Instructions
-
Preheat oven to 175°C; grease 8x8 inch pan.
-
Mix cherries with cornstarch; set aside.
-
Cream butter and sugar, add egg and vanilla. Mix in dry ingredients.
-
Spread half batter in pan, layer cherries, drop remaining batter on top, sprinkle brown sugar and nuts.
-
Bake 35–40 min until golden. Cool completely before cutting.